Mastering Remote Access For Your Raspberry Pi IoT Projects
Unlock the full potential of your Raspberry Pi by learning how to securely and efficiently manage it from anywhere. This comprehensive guide explores the setup, tools, and best practices for remote access, empowering tech enthusiasts and professionals alike to take control of their IoT projects. Whether you're managing server configurations, downloading files, or monitoring sensors, this guide will walk you through every step of the process.
In the rapidly evolving world of the Internet of Things (IoT), the ability to remotely access your Raspberry Pi has become an essential skill. This compact and cost-effective device is favored by hobbyists and professionals for its versatility and ease of use. With the right tools and knowledge, you can transform your Raspberry Pi into a powerful tool for managing IoT applications remotely. This guide will delve into best practices, tools, and techniques to help you achieve seamless remote access while maintaining robust security.
From controlling smart home devices to monitoring industrial sensors, remote access ensures that you remain connected to your projects without the need for physical presence. This guide will provide you with the insights and strategies needed to securely and efficiently access your Raspberry Pi from anywhere in the world. Let's get started!
Read also:Why You Should Join Wewillwritecom Today Unlock Your Writing Potential
Table of Contents
- Introduction to Remote Raspberry Pi Access
- Advantages of Remote Access for Raspberry Pi IoT Projects
- Configuring Your Raspberry Pi for Remote Access
- Essential Tools for Remote Raspberry Pi Management
- Enhancing Security for Remote IoT Connections
- Addressing Common Issues and Troubleshooting
- Practical Applications of Remote Access in IoT
- Efficiently Downloading Files and Data via Remote Access
- Maximizing Remote Access Performance
- Conclusion and Next Steps
Introduction to Remote Raspberry Pi Access
Remote access refers to the ability to control and interact with a device from a distant location. For the Raspberry Pi, this capability is indispensable for managing IoT projects effectively. As a compact yet powerful device, the Raspberry Pi serves as the foundation for many IoT applications, making remote access a critical skill for users.
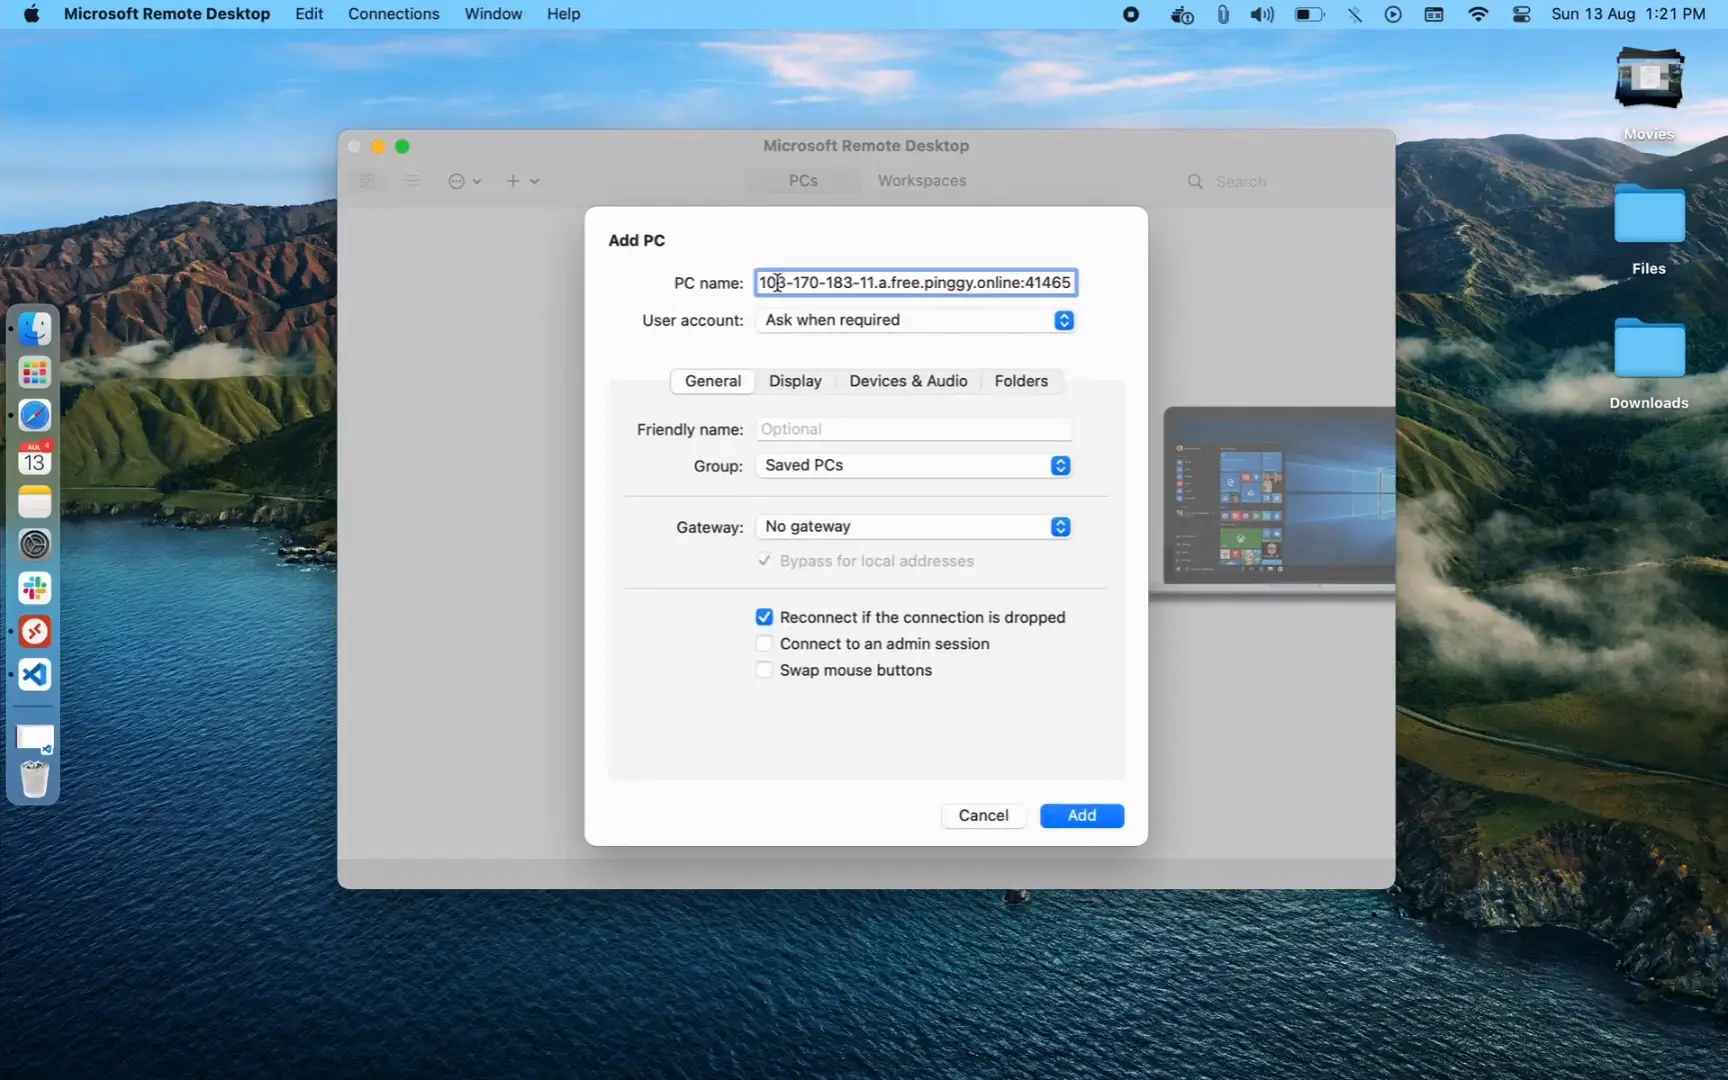
Setting up your Raspberry Pi for remote access involves configuring your network settings, enabling SSH, and potentially using a Virtual Private Network (VPN) for added security. By understanding these foundational steps, you can establish a secure and reliable connection to your device. This section will guide you through the initial setup process, ensuring you're well-equipped to begin your remote access journey.
Why the Raspberry Pi is Ideal for IoT Projects
The Raspberry Pi stands out as a top choice for IoT projects due to its affordability, flexibility, and robust community support. Its compatibility with various operating systems and programming languages makes it an excellent platform for experimenting with remote access technologies. Whether you're a beginner or an experienced developer, the Raspberry Pi offers endless possibilities for innovation and exploration.
Advantages of Remote Access for Raspberry Pi IoT Projects
Remote access to your Raspberry Pi offers numerous benefits that enhance both efficiency and security. By leveraging this capability, you can streamline your IoT projects and focus on innovation rather than logistics. Below are some key advantages of remote access:
- Convenience: Manage your IoT projects from anywhere in the world without needing to be physically present.
- Cost-Effectiveness: Eliminate the need for frequent travel by managing devices remotely, reducing expenses significantly.
- Scalability: Seamlessly scale your IoT projects by accessing and controlling multiple devices simultaneously.
- Enhanced Security: Implement advanced security measures to safeguard your data and devices against unauthorized access.
By adopting remote access, you can optimize your workflow, minimize downtime, and enhance the overall functionality of your IoT projects.
Configuring Your Raspberry Pi for Remote Access
Before you can remotely access your Raspberry Pi, it's essential to configure it properly. This process involves setting up your network settings, enabling SSH, and optionally assigning a static IP address for consistent connectivity. Follow these steps to ensure a smooth setup:
Read also:What Is The Jamaican Slang For Friend Or Bro Exploring The Vibrant Language Of Jamaica
- Connect your Raspberry Pi to a monitor and keyboard for initial configuration.
- Boot the Raspberry Pi and log in to the operating system.
- Enable SSH by running the command
sudo raspi-configand navigating to "Interfacing Options." - Set up a static IP address to ensure stable network connections.
- Test the connection on your local network before transitioning to remote access.
Once your Raspberry Pi is configured, you'll be ready to proceed with remote access. Proper setup is crucial for maintaining a secure and reliable connection to your device.
Best Practices for Successful Configuration
Here are some additional tips to ensure your Raspberry Pi is fully prepared for remote access:
- Use a high-quality power supply to prevent unexpected shutdowns and data loss.
- Regularly update your Raspberry Pi's firmware to ensure optimal performance and security.
- Document all network settings and IP addresses for quick reference during troubleshooting.
Essential Tools for Remote Raspberry Pi Management
Several tools and software solutions are available to facilitate remote access to your Raspberry Pi. Below are some of the most popular options:
- SSH (Secure Shell): A secure and lightweight protocol for accessing command-line interfaces remotely.
- VNC (Virtual Network Computing): A graphical desktop sharing system that allows you to control your Raspberry Pi remotely with a visual interface.
- TeamViewer: A user-friendly tool designed for remote access and support, offering a range of features for seamless control.
- NGROK: A tool for creating secure tunnels to your Raspberry Pi, simplifying the setup process.
Each tool has its own strengths and weaknesses, so selecting the one that best aligns with your needs is essential for a successful remote access experience.
Comparing Remote Access Tools
The following table provides a quick comparison of the tools mentioned above:
| Tool | Advantages | Limitations |
|---|---|---|
| SSH | Secure, lightweight, and widely supported. | Limited to text-based interfaces only. |
| VNC | Graphical interface for intuitive control. | May experience slower performance on unstable networks. |
| TeamViewer | User-friendly interface with advanced features. | May require additional setup for headless operation. |
| NGROK | Simple and easy to set up for quick access. | Free tier offers limited functionality for advanced users. |
Enhancing Security for Remote IoT Connections
Security is a top priority when remotely accessing your Raspberry Pi. Without proper precautions, your device and data may be vulnerable to unauthorized access. Below are some best practices to enhance the security of your remote connections:
- Use strong, complex passwords for all user accounts and avoid reusing credentials across platforms.
- Enable two-factor authentication (2FA) to add an extra layer of protection against unauthorized access.
- Regularly update your Raspberry Pi's software and firmware to address vulnerabilities and improve performance.
- Implement a firewall to restrict unauthorized access and monitor incoming and outgoing traffic.
By adhering to these security measures, you can safeguard your Raspberry Pi and its associated IoT devices from potential threats.
Common Security Risks to Watch For
Here are some common security risks to be aware of when remotely accessing your Raspberry Pi:
- Brute-force attacks targeting weak or easily guessable passwords.
- Malware and viruses exploiting vulnerabilities in outdated software.
- Man-in-the-middle attacks intercepting sensitive data during transmission.
Stay vigilant and proactive in identifying and mitigating these risks to ensure the security of your IoT projects.
Addressing Common Issues and Troubleshooting
Even with careful setup and configuration, issues can arise when remotely accessing your Raspberry Pi. Below are some common problems and solutions:
- Connection Refused: Verify your network settings and ensure SSH is properly enabled.
- Slow Performance: Optimize your network connection and consider upgrading your hardware for better performance.
- Authentication Errors: Confirm your credentials and update your SSH keys if necessary to resolve access issues.
Referencing official documentation and community forums can provide additional guidance when troubleshooting.
Advanced Troubleshooting Techniques
For more complex issues, consider the following advanced techniques:
- Use diagnostic tools like
pingandtracerouteto identify and resolve network problems. - Review system logs for detailed error messages and insights into potential issues.
- Consult the official Raspberry Pi documentation for specific guidance tailored to your setup.
Practical Applications of Remote Access in IoT
Remote access offers a wide range of applications in IoT projects, enhancing their functionality and reach. Below are some examples:
- Home Automation: Control smart home devices and systems from anywhere, improving convenience and energy efficiency.
- Environmental Monitoring: Collect and analyze sensor data remotely to monitor conditions in real-time.
- Industrial IoT: Manage factory equipment and processes in real-time to optimize productivity and reduce downtime.
By leveraging remote access, you can unlock new possibilities for your IoT projects, expanding their impact and effectiveness.
Real-World Examples of Remote Access in IoT
Here are some real-world applications of remote access in IoT:
- Agricultural companies using Raspberry Pi to remotely monitor crop conditions, soil moisture, and weather patterns.
- Manufacturers employing IoT devices to optimize production lines and improve operational efficiency.
- Researchers collecting data from remote sensors in challenging environments, such as deserts or polar regions.
Efficiently Downloading Files and Data via Remote Access
Downloading files and data is a common task when remotely accessing your Raspberry Pi. Below are some methods to ensure secure and efficient file transfers:
- Use SCP (Secure Copy Protocol) for secure file transfers between your local machine and Raspberry Pi.
- Utilize FTP or SFTP for larger data transfers, ensuring reliability and speed.
- Implement cloud storage solutions for easy access to files from anywhere in the world.
By following these methods, you can ensure seamless and secure file transfers while maintaining the integrity of your data.
Best Practices for Secure File Transfers
Here are some best practices to keep in mind when downloading files via remote access:
- Encrypt your data during transfer to protect sensitive information from unauthorized access.
- Verify file integrity using checksums or hash values to ensure data accuracy.
- Limit access to authorized users only, ensuring that only trusted individuals can download or modify files.
Maximizing Remote Access Performance
To optimize the performance of your remote access setup, consider the following strategies:
- Upgrade your internet connection to achieve faster speeds and reduce latency.
- Use compression techniques to minimize data transfer sizes and improve efficiency.
- Implement caching mechanisms to reduce redundant data transfers and enhance performance.
These strategies can significantly improve the speed and reliability of your remote access experience, ensuring seamless operation even under demanding conditions.
Monitoring and Maintaining Your Raspberry Pi
Regular monitoring and maintenance are essential for maintaining optimal performance of your Raspberry Pi. Use tools like htop and iotop to monitor resource usage and identify potential bottlenecks. By staying proactive, you can


