Mastering Remote IoT Management With Raspberry Pi And SSH On Windows 10
With the Remote IoT Platform SSH Raspberry Pi Download for Windows 10, users gain a cutting-edge solution for managing and interacting with IoT devices from distant locations. As technology continues to advance, the capacity to control and monitor IoT devices remotely has become a cornerstone of modern digital infrastructure. The growing popularity of Raspberry Pi as a flexible and cost-effective foundation for IoT projects now enables users to access their devices using SSH directly from their Windows 10 computers. This setup revolutionizes how individuals and organizations approach IoT management.
In today's tech-driven world, the ability to remotely manage IoT devices is no longer optional—it’s essential. This article provides a detailed guide on setting up your Raspberry Pi for remote access via SSH, including downloading necessary software for Windows 10 and resolving common challenges. Whether you're a hobbyist or a professional, this guide equips you with the tools and knowledge to enhance your IoT projects effectively.
Furthermore, this article explores the importance of security and optimization in your remote IoT platform. By following the outlined steps, you can ensure that your IoT setup is not only functional but also secure and efficient. Let’s delve into the process of maximizing the potential of your Raspberry Pi with remote SSH access on Windows 10.
Read also:Discover The Power Of Butter Sugar Coffee A Comprehensive Guide
Exploring the Foundations of IoT and Raspberry Pi
What Exactly is IoT?
The Internet of Things (IoT) represents a network of interconnected physical devices, vehicles, home appliances, and other gadgets embedded with sensors, software, and connectivity capabilities. These elements allow for the seamless exchange of data, transforming industries through real-time monitoring, automation, and advanced data analysis. According to Statista, the global IoT market is projected to soar to $1.6 trillion by 2025, underscoring its pivotal role in modern technology.
Why is Raspberry Pi Ideal for IoT Projects?
Raspberry Pi has emerged as a favorite among IoT enthusiasts due to its affordability, versatility, and user-friendly design. This compact computer can run various operating systems, including Linux-based distributions, making it an excellent choice for IoT applications. Below are some compelling reasons why Raspberry Pi stands out:
- Affordable and energy-efficient, perfect for budget-conscious projects.
- Supports a wide range of programming languages, providing flexibility for developers.
- Highly customizable, catering to diverse applications and project requirements.
- Backed by an extensive community of users, offering a wealth of resources and support.
Selecting the Right Raspberry Pi Model for Your IoT Needs
With multiple Raspberry Pi models available, choosing the right one depends on your specific requirements. The Raspberry Pi 4 Model B is one of the most powerful options, offering enhanced performance and additional USB ports for expanded connectivity. For more compact projects, the Raspberry Pi Zero W provides a lightweight solution with built-in wireless capabilities, making it ideal for portable IoT setups.
Configuring Raspberry Pi for Remote Access
Activating SSH on Raspberry Pi
Secure Shell (SSH) is a network protocol that facilitates secure communication between devices over potentially insecure networks. To activate SSH on your Raspberry Pi, follow these straightforward steps:
- Insert the microSD card into your computer.
- Download the latest version of Raspberry Pi OS from the official website.
- Utilize a tool like Balena Etcher to flash the OS onto the microSD card.
- Create an empty file named "ssh" (without any extension) in the boot partition of the microSD card.
- Insert the microSD card into your Raspberry Pi and power it on to enable SSH.
Connecting Raspberry Pi to Wi-Fi Without a Monitor or Keyboard
For seamless Wi-Fi connectivity, create a file named "wpa_supplicant.conf" in the boot partition of the microSD card. Add the following content:
network={
ssid="Your_Network_Name"
psk="Your_Password"
}
Read also:Exploring Elon Musks Partners And Kids A Comprehensive Look
Acquiring and Setting Up an SSH Client for Windows 10
What is an SSH Client?
An SSH client is a software application that enables you to establish a secure connection to a remote device. Windows 10 users have access to several SSH clients, such as PuTTY and Windows Terminal, each offering unique features to suit different needs.
Installing PuTTY: A Step-by-Step Guide
PuTTY remains one of the most popular SSH clients for Windows. To install PuTTY, follow these instructions:
- Visit the official PuTTY website and download the appropriate version for your system (32-bit or 64-bit).
- Run the installer and follow the on-screen prompts to complete the installation process.
Using Windows Terminal for SSH Connectivity
Windows 10 includes a built-in SSH client accessible through Windows Terminal. To enable SSH, follow these steps:
- Open the Start menu and search for "Windows Features."
- Select "Turn Windows features on or off" and check the box for "OpenSSH Client."
- Click "OK" and restart your computer if prompted.
Establishing an SSH Connection to Raspberry Pi
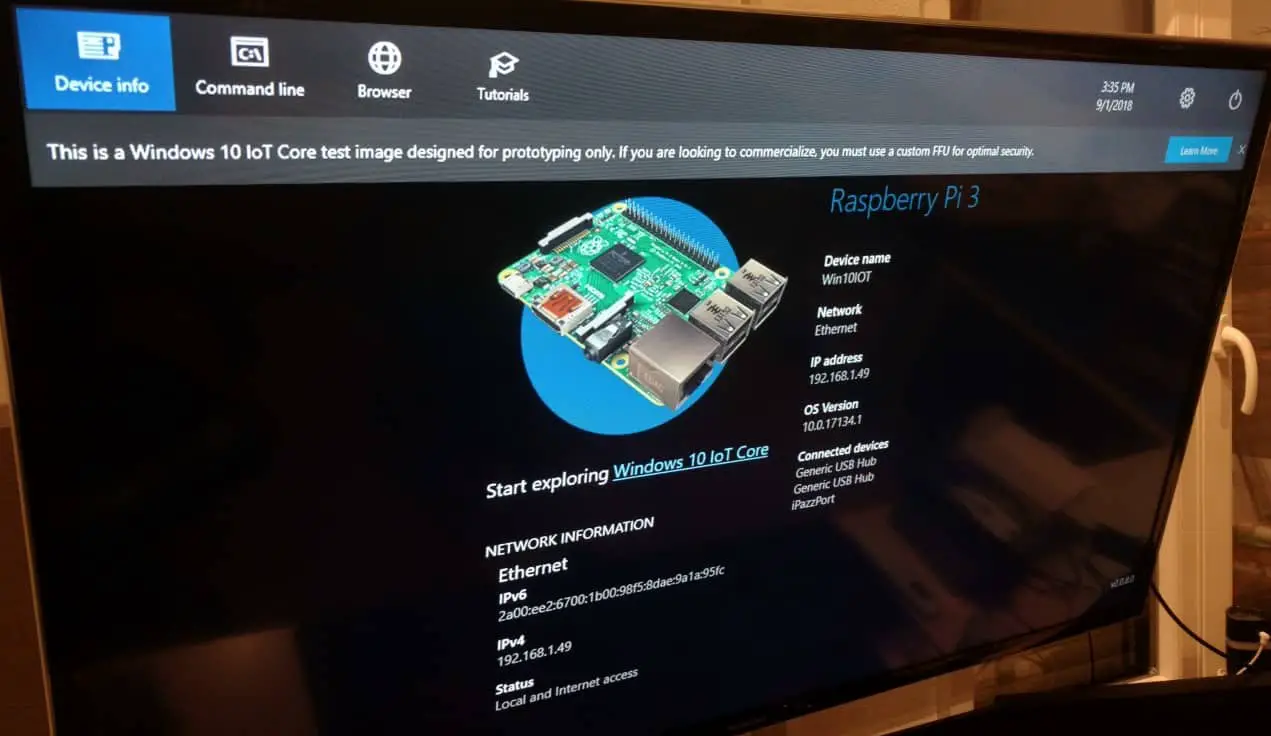
Locating the IP Address of Your Raspberry Pi
Before connecting to your Raspberry Pi via SSH, you need to obtain its IP address. This can be done through various methods:
- Utilize a network scanning tool like Advanced IP Scanner to identify your Raspberry Pi's IP address.
- Consult your router's connected devices list for the relevant IP address.
- Use the Raspberry Pi's command line with the "ifconfig" command to retrieve the IP address.
Initiating the SSH Connection
Once you have the IP address, open your SSH client and enter the following command:
ssh pi@your_pi_ip_address
When prompted, input the default password "raspberry" (unless you've modified it).
Enhancing Security for Your Remote IoT Platform
Updating the Default Password
To bolster security, it's crucial to change the default password of your Raspberry Pi. Execute the following command:
sudo passwd pi
Implementing a Firewall for Protection
A firewall serves as a critical line of defense against unauthorized access to your Raspberry Pi. To activate the firewall:
- Install UFW (Uncomplicated Firewall) with the command: sudo apt install ufw
- Allow SSH connections: sudo ufw allow ssh
- Enable the firewall: sudo ufw enable
Boosting Performance for Remote IoT Applications
Updating Raspberry Pi OS for Enhanced Features and Security
Regularly updating your Raspberry Pi OS ensures access to the latest features and security enhancements. Use the following commands:
sudo apt update
sudo apt upgrade
Monitoring and Managing System Resources
Efficiently monitoring and managing system resources can significantly enhance the performance of your Raspberry Pi. Tools like htop and glances offer real-time insights into CPU, memory, and disk usage, empowering you to optimize your device's performance.
Resolving Common Issues in Remote IoT Management
Troubleshooting SSH Connection Problems
If you encounter difficulties connecting to your Raspberry Pi via SSH, consider the following troubleshooting steps:
- Verify that SSH is enabled on your Raspberry Pi.
- Double-check the IP address and ensure there are no network issues.
- Review firewall settings to confirm that SSH is permitted.
Addressing Slow Connection Speeds
Slow SSH connections can result from network congestion or insufficient resources on the Raspberry Pi. To enhance speeds:
- Optimize your network settings for better performance.
- Consider upgrading your Raspberry Pi model for improved capabilities.
Advanced Techniques for Remote IoT Management
Configuring a Static IP Address
A static IP address ensures consistent connectivity by assigning a fixed address to your Raspberry Pi. To set up a static IP:
- Edit the dhcpcd.conf file: sudo nano /etc/dhcpcd.conf
- Add the following lines, replacing placeholders with your network details:
interface eth0
static ip_address=your_ip_address/24
static routers=gateway_ip_address
static domain_name_servers=dns_server_ip
Utilizing SSH Keys for Enhanced Authentication
SSH keys provide a more secure authentication method compared to traditional passwords. To set up SSH keys:
- Generate a key pair on your Windows machine using the command: ssh-keygen
- Copy the public key to your Raspberry Pi: ssh-copy-id pi@your_pi_ip_address
- Disable password authentication in the SSH configuration file for added security.
Final Thoughts
In summary, establishing a remote IoT platform using SSH on a Raspberry Pi with Windows 10 offers a robust solution for managing and monitoring IoT devices. By adhering to the steps outlined in this article, you can create a secure and efficient setup. Regularly update your Raspberry Pi OS, optimize resources, and implement advanced security measures to safeguard your IoT platform.
We invite you to share your experiences and ask questions in the comments section below. Additionally, explore other articles on our website for further guidance and inspiration on IoT and Raspberry Pi projects. Together, let's continue to innovate and push the boundaries of technology!
Table of Contents
- Exploring the Foundations of IoT and Raspberry Pi
- Configuring Raspberry Pi for Remote Access
- Acquiring and Setting Up an SSH Client for Windows 10
- Establishing an SSH Connection to Raspberry Pi
- Enhancing Security for Your Remote IoT Platform
- Boosting Performance for Remote IoT Applications
- Resolving Common Issues in Remote IoT Management
- Advanced Techniques for Remote IoT Management
- Final Thoughts

